 Ever since I did those spray painted pumpkins for Thanksgiving last year, I’ve been looking for any excuse to transform things with spray paint. And this is one of the easiest and most inexpensive transformations that I’ve done. Think twice before tossing that empty tin can in the recycling bin because that can be a custom vase, pencil holder, make-up brush holder, utensil holder or planter (i.e., pretty much anything you want it to be) within just a few minutes with a few easy steps.
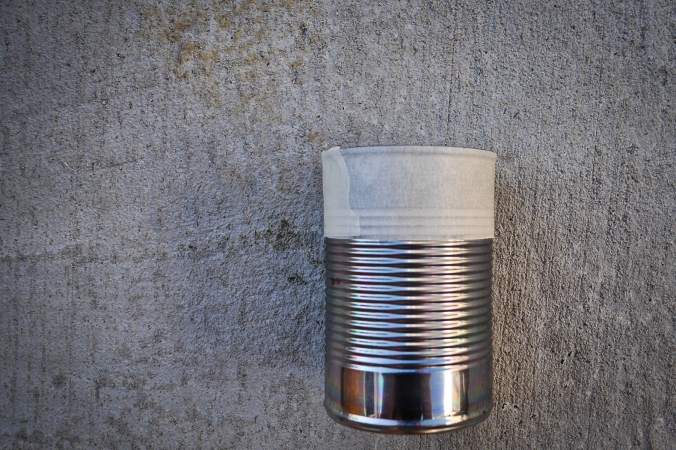
 With either painter’s tape or simple masking tape, tape off the portion of the can that you don’t want to paint. Any size you want. You could even do stripes if you wanted to, but I just did a solid area because I wanted the can to have a dip-dyed effect. Also, make sure the tape along the edge that you’re painting is pressed smoothly against the can or the spray paint will bleed under the tape.
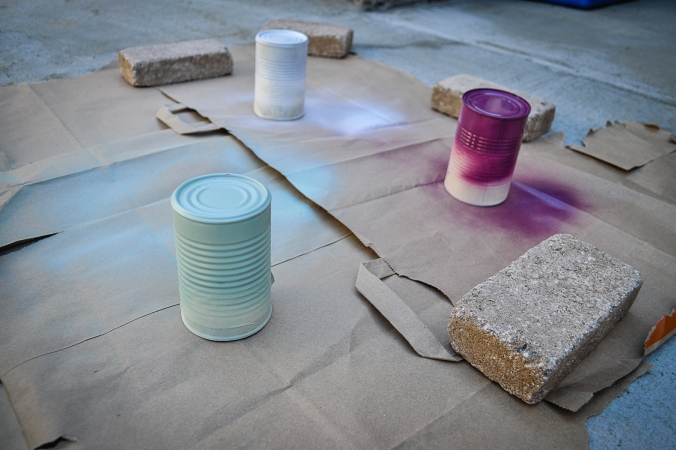
 Don’t over spray to get a full coating on the first time. Spray paint works best with several thin layers built up on top of each other. This is especially true when working with the tin cans because if you over spray, the excess paint might drip into the ridges of the can.
 The can in three various levels of being painted. First coat for the white, second coat for the purple and final coat on the mint green.
 Removing the tape after the spray paint has dried. Last step, deciding how you’re going to put these cans to use!

